

Introduction to Device Owner
At Admin By Request, we believe the best security solutions come well-equipped, but put the power in your hands – i.e., they have all of the necessary features, but you have the control to use them as you see fit.
That is essentially how we help our customers balance their security and productivity needs: by providing a range of options and methods both for granting – or restricting – administrative access.
In larger organizations with thousands of computers, often used by multiple people, you may want to want to restrict the ability for users to gain privileged access to only the predominant user of that device – particularly if your Settings and Sub-Settings for gaining admin rights are on the more lenient side (e.g., you don’t require approval for elevation).
That’s why, with the release of Admin By Request version 7.4 for Windows, we’ve equipped our solution with another feature that puts the level of restriction in your hands: Device Owner.
As the name suggest, the feature sets a user as the device owner, and can then be used (if desired) to lock down the device to only that person.
Feature Overview
The first non-administrator that logs in to the device (prior to Device Owner being set) becomes the Device Owner.
Once a device has an Owner (listed in the Inventory and Reports pages of your User Portal), you then have the ability to configure Settings to allow only the specified Device Owner to use Admin By Request elevation features on that device (i.e., Run as Admin and Admin Session). These settings can be applied to all users across the board (Global Settings), or to certain users and groups (Sub-Settings).
The Device Owner can be viewed, changed to the currently logged in user, and released altogether so that the next non-administrator that logs in takes up ownership.
Using the Feature
Assigning and Viewing the Device Owner
Upon installation of Admin By Request on the endpoint, the first non-administrator who logs in becomes the Device Owner. However, there is a 24-hour period after installation during which the Device Owner will change to reflect each non-administrator who logs in, rather than staying fixed on the first one. The reason for this ‘open’ period is to avoid an incorrect user being set as the Device Owner (such as an IT Admin assisting with setup post-installation).
After the 24-hour window, the Device Owner is set – unless no non-administrators logged in during the 24-hour window. In this case, the first non-admin who logs in after the 24-hour window is set as the Device Owner.
Device Owners can be viewed from two locations within your User Portal:
From the Inventory Page
1. Navigate to the Inventory page and select the appropriate device from the list:
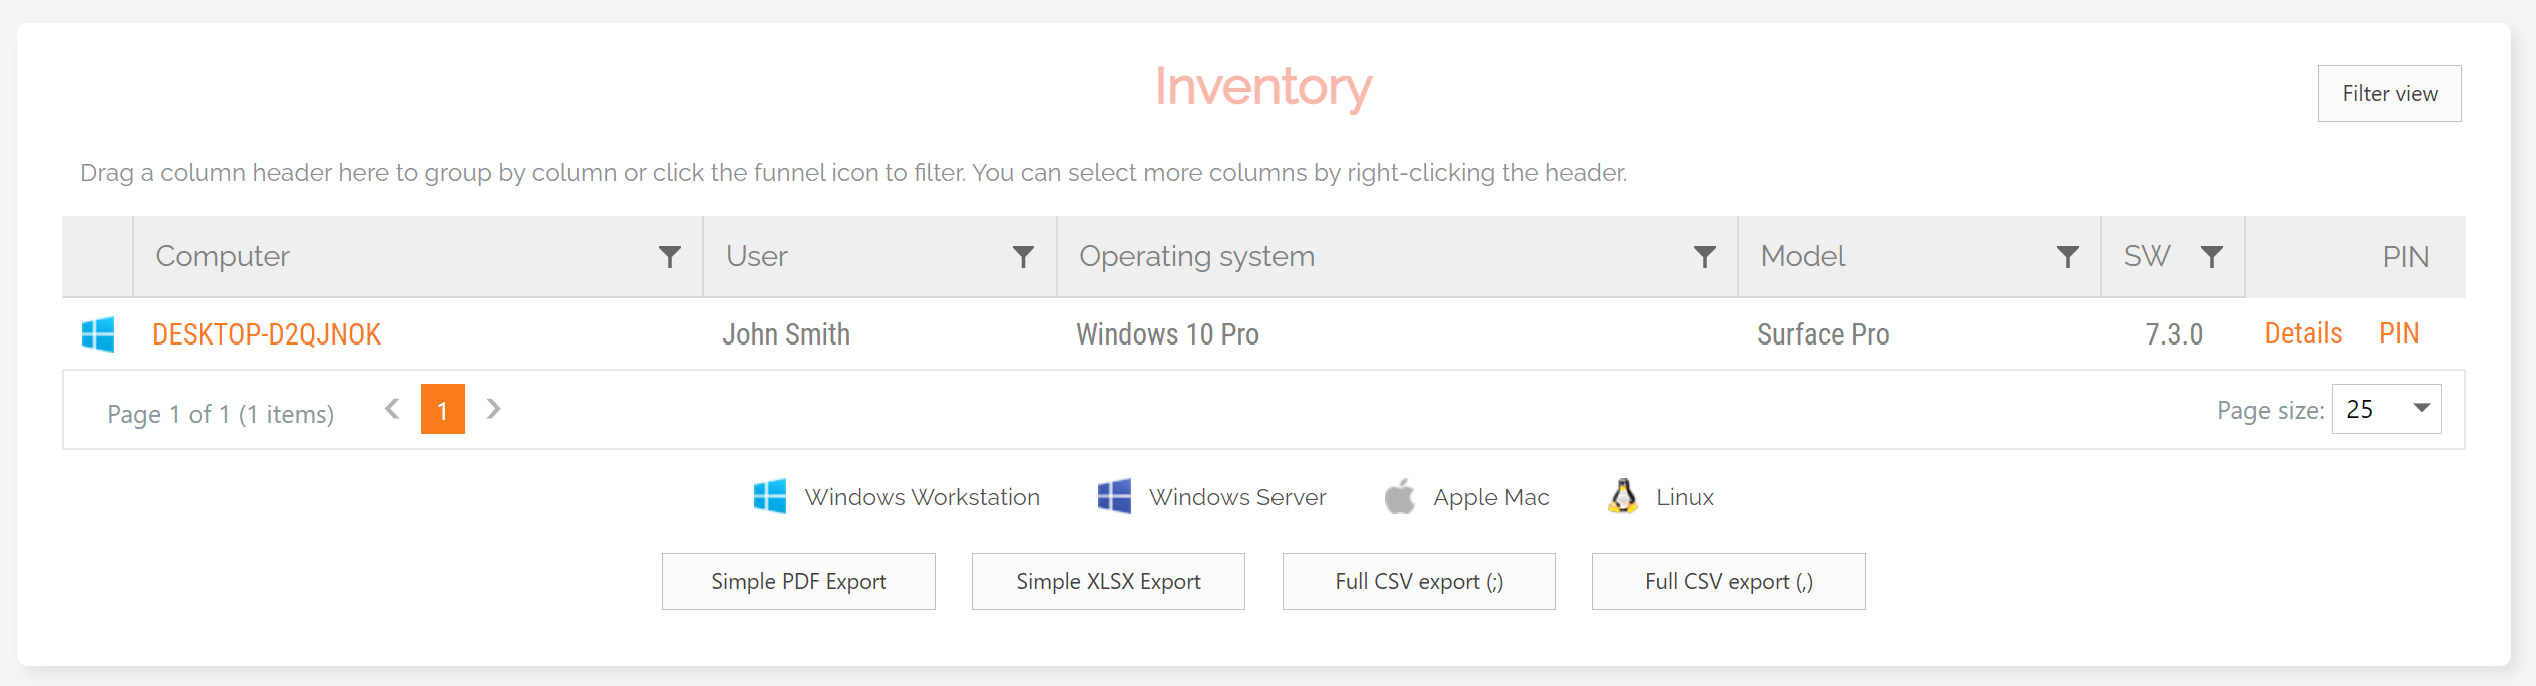
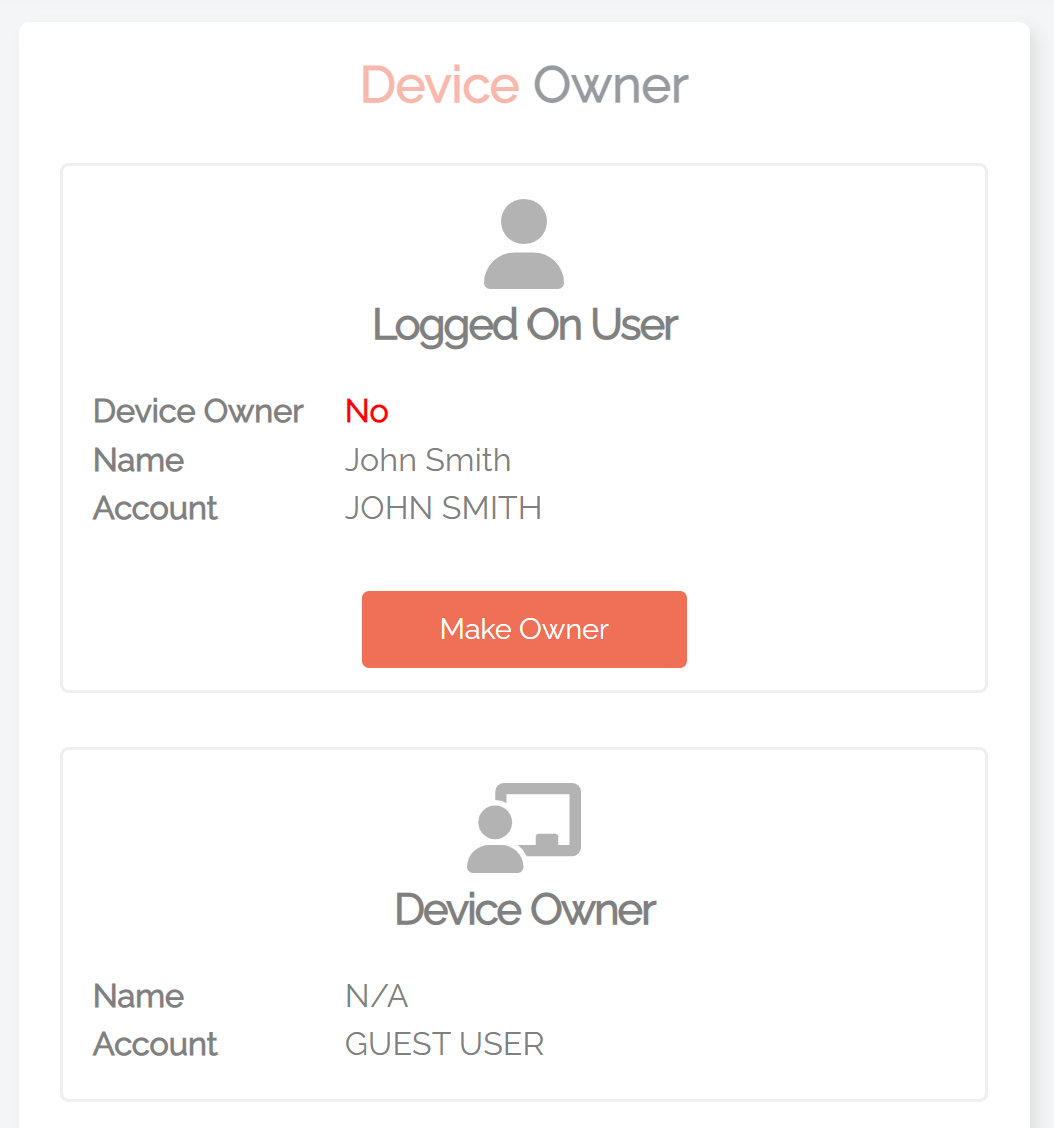
2. Select the Owner item from the left-hand menu (note that if the Device Owner is not the same user currently logged in to the device, you will be able to view both the Logged-On User and the Device Owner on this page – see screenshot in the Changing the Device Owner section, point 2):
.png)
From the Reports Page
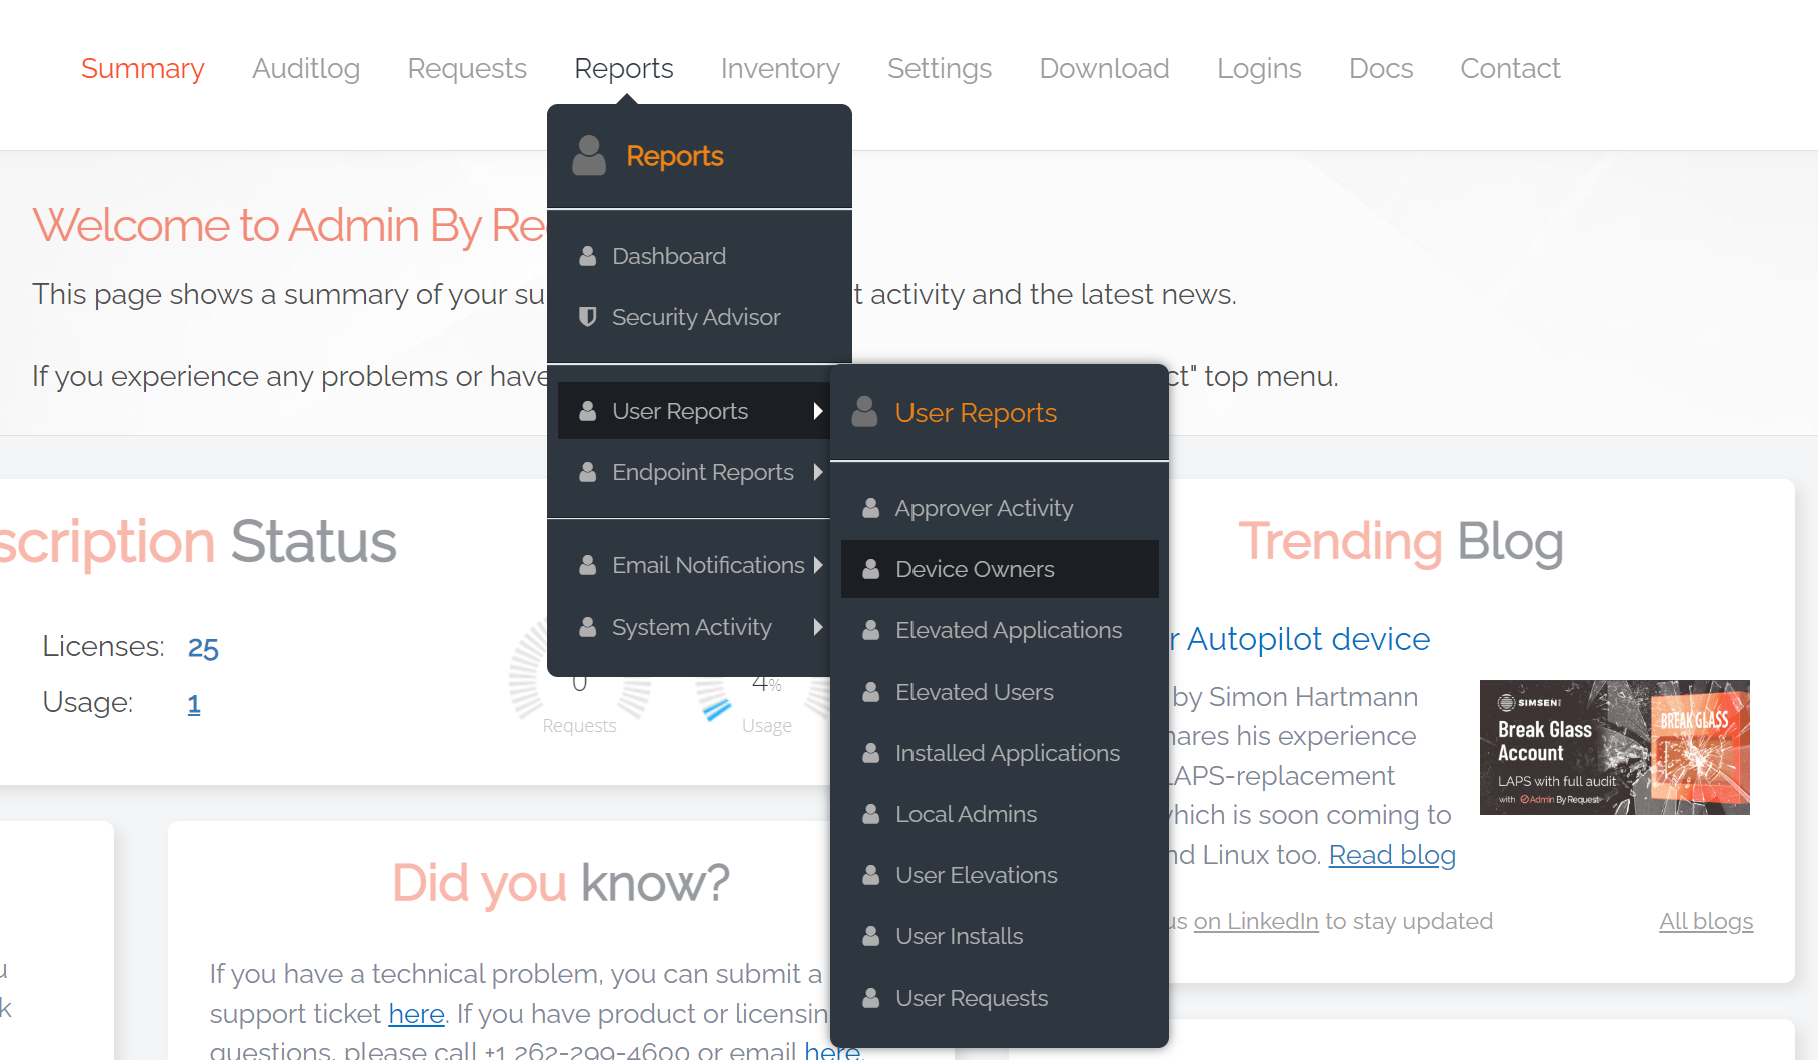
1. Navigate to the Reports menu and select User Reports > Device Owners from the list:
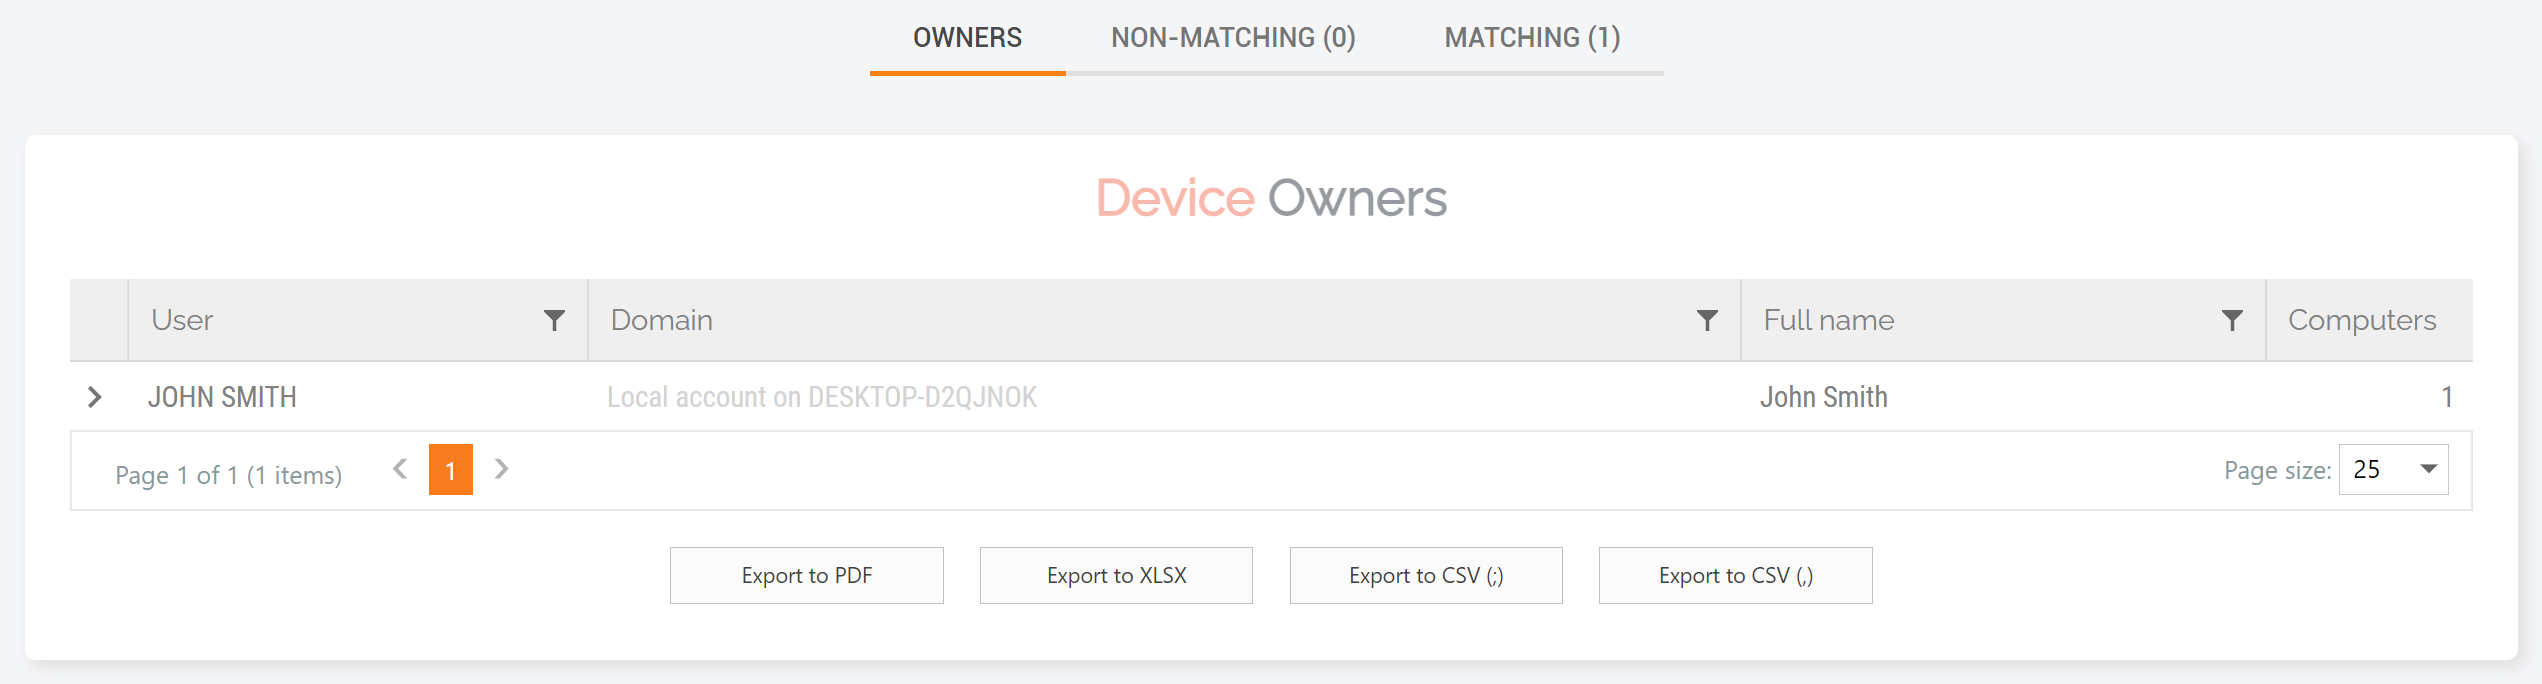
2. Here all Device Owners are listed next to their devices (note the screenshot below is displaying the Owners tab):
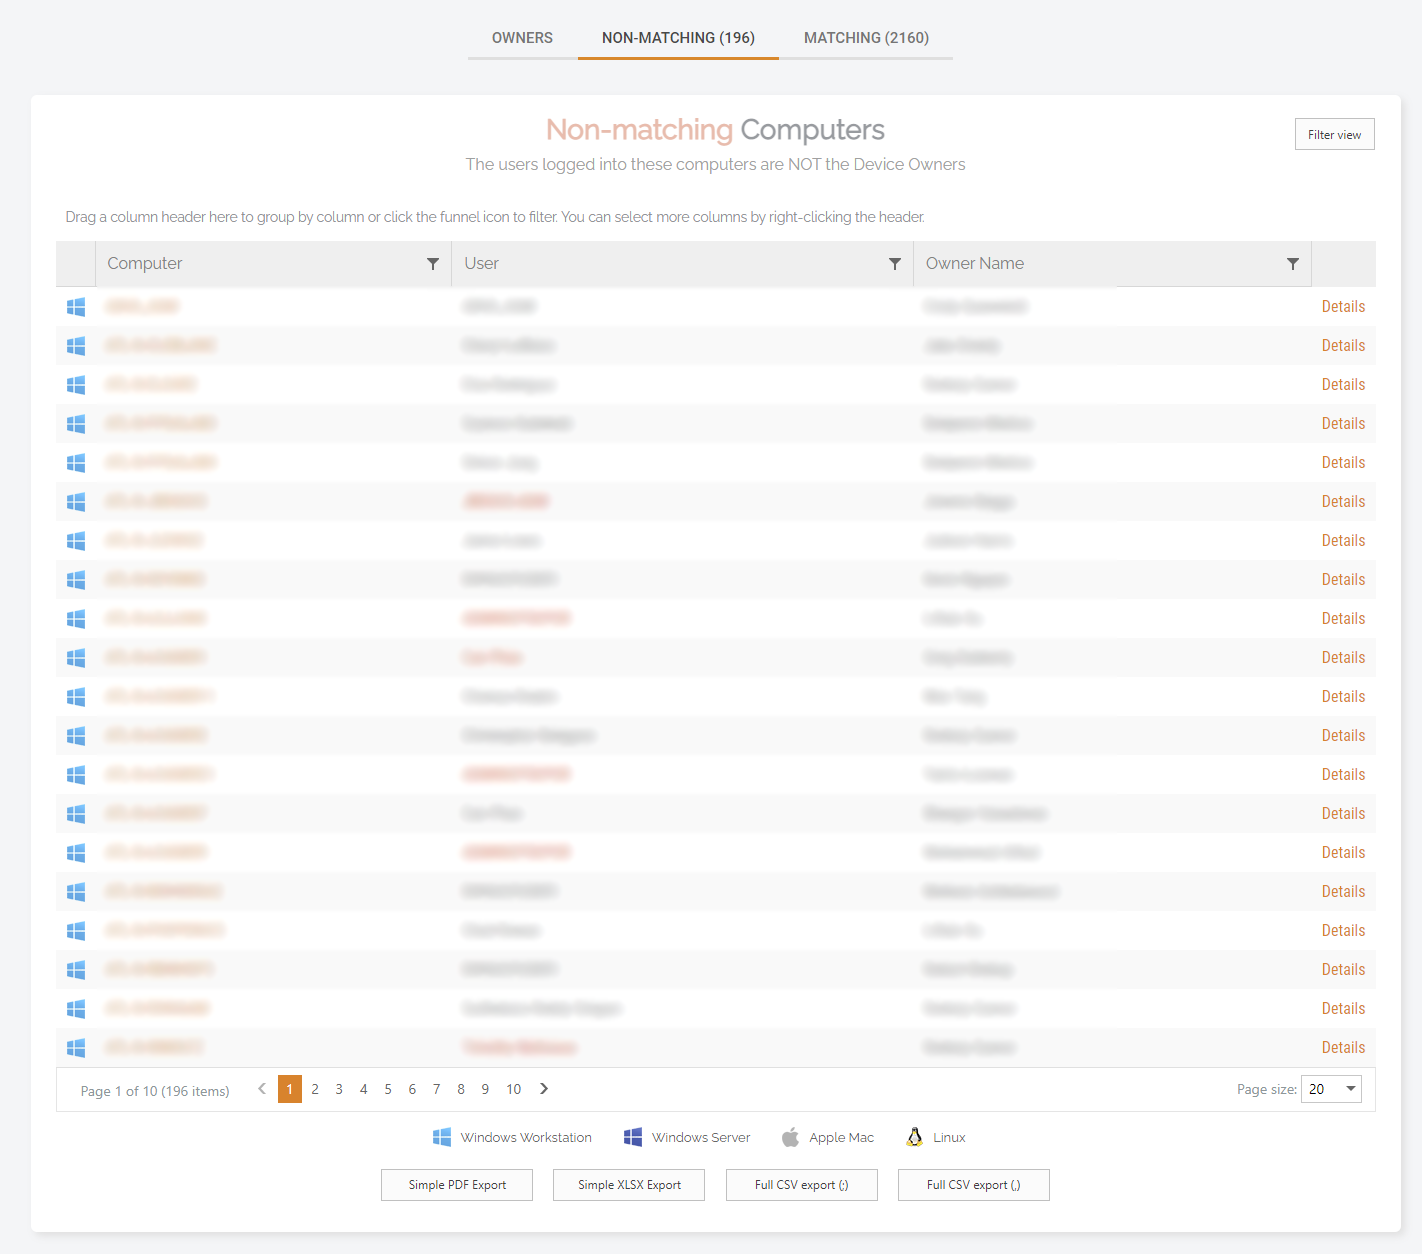
3. Clicking into the Non-Matching Users tab displays all of the users who have logged in to the device who are not the Device Owner (note the user details are blurred in the screenshot below):
Changing the Device Owner
Sometimes the Device Owner may not be set to the correct user, or you may need to change the Device Owner due to employee turnover, etc. There are two available methods for doing this:
1. Get the intended Device Owner (i.e., the user that you want to be the Device Owner) to log in to the device.
2. In your User Portal, navigate to Inventory > [Device] > Owner. From here, select the Make Owner button to set the Device Owner to the user that is currently logged on – replacing the existing Device Owner listed in the bottom section:
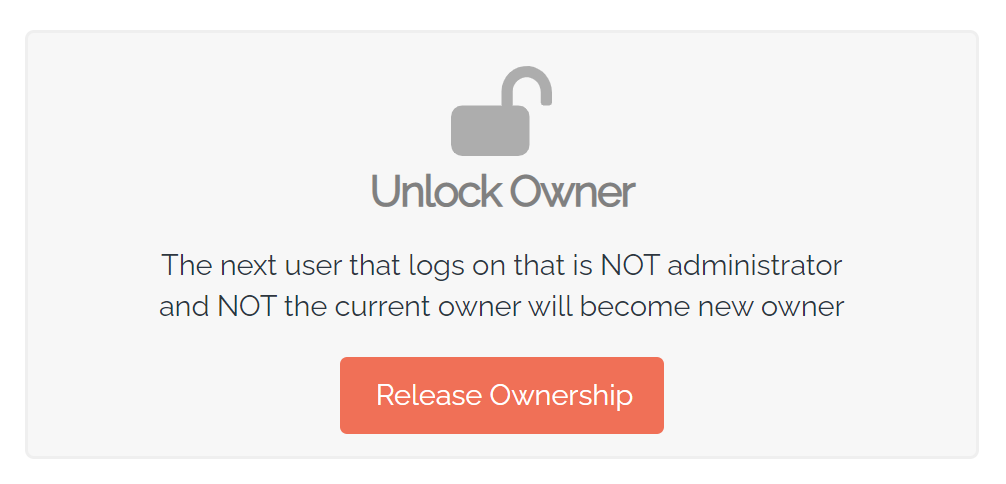
3. The other method for changing the Device Owner is to clear the property altogether by clicking the Release Ownership button in the Unlock Owner section. Choosing this option resets the feature so that the next non-administrative user that logs on to the device becomes the Owner. However, if the next non-administrator to log in is the same Device Owner who was just released, they will not be set as the Device Owner. Instead, you need to use the Make Owner button (see previous step) to reset this user as the Device Owner (this method can also be used if you select Release Ownership by mistake):
Locking Down the Endpoint to Device Owner
The lockdown component of this feature can be used to ensure only the Device Owner can request administrative access on their device, and there are several options available for doing this.
Global Settings
The first method is to lock down all devices across the board to their owner using Global Settings:
1. Navigate to Settings > Windows Settings:
.png)
2. From the left-hand menu, select Lockdown, and on the Lockdown page, select Owner from the top tab menu:
.png)
3. In the Device Owner section, set the Lock Device to Owner toggle to ‘ON’, and click the Save button (note that a green tick will appear next to the Save button when the action is complete):
.png)
Sub-Settings
Sub-Settings override Global Settings, essentially acting as ‘exceptions to the rule’. They allow you to apply the lockdown setting to specific users and groups based on who needs what access, rather than to all users (as is the case when using Global Settings).
Let’s look at a few use cases:
1. To protect business-critical data and processes, you want to lock down your Management team’s devices so that only they can access them, but all other devices need not be restricted (i.e., can be accessed by any user, regardless of Device Ownership).
- To configure this setup, set the Lock Device to Owner toggle to ‘OFF’ in the Global Settings.
- In your Sub-Settings, locate the rule you are adjusting – in this case, the Management Sub-Setting rule:

- Navigate to Lockdown, go to the Owner tab, and toggle the Lock Device to Owner toggle to ‘ON’.
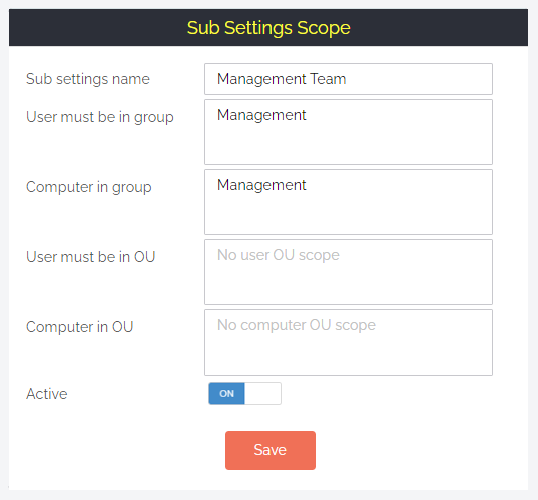
- All devices in the Management group (defined in the Sub-Setting Scope – see image below) can now only be accessed by their specified Device Owner.
2. You want all users to only have access to their own devices, apart from the IT Support team, whom you want to have access to all users’ devices in order to provide IT support when necessary.
In this case, you would do the opposite to the above:
- In Global Settings, set the Lock Device Owner toggle to ‘ON’.
- In your Sub-Settings, in the IT Support Sub-Setting rule, navigate to Lockdown > Owner tab and set the Overrule Global Settings toggle to ‘ON’. Then set the Lock Device to Owner toggle to ‘OFF’:
.png)
- Users in the IT Support group Scope now have access to all devices, whereas all other users (outside of the Scope) still only have access to their own device (due to the Global Setting).
Note that Sub-Settings apply in the order they are specified.
Summary
Multiple users being able to gain privileged access across your company devices poses a security risk. Device Owner, our latest flexible feature, helps mitigate this risk in a way that accommodates the uniqueness of every organization.
Download Admin By Request version 7.4 for Windows today and customize your Privileged Access Management (PAM) experience even more.
Japanese Grand Prix Recap
That’s a wrap for MoneyGram Haas F1 Team in Japan where Kevin Magnussen finished P13 – gaining five places through the tricky race that was interrupted by a red flag...

Saudi Arabian Grand Prix Recap
No points for Kevin Magnussen at Jeddah, but thanks to the Dane’s efforts of holding competitors back, the American squad nevertheless succeeded as a team.

Halodata selected as ASEAN Distribution Partner for Admin By Request
Halodata, Asia’s end-to-end premier distributor for information security solutions, today announced its partnership with Admin By Request.


